有时候为了提高用户体验,需要分帧加载,async.js 是个优秀的第三方库,最近在看一些关于分帧加载的文章的时候,作者推荐了这个第三方库,于是想拿来用一下效果,于是乎,导入官方dist目录下的文件直接报错,于是乎自己用rollup.js重新对源码编译生成一份儿可以用的,下面就说说如何构建。
背景
官方最新版本的async.js无法使用,低版本貌似可以,但是秉承着学习和向未来编程的方法,就自己编译一下,其实把散碎的js直接导入也是可以的,但是毕竟一个js文件看起来更加简洁和优雅。
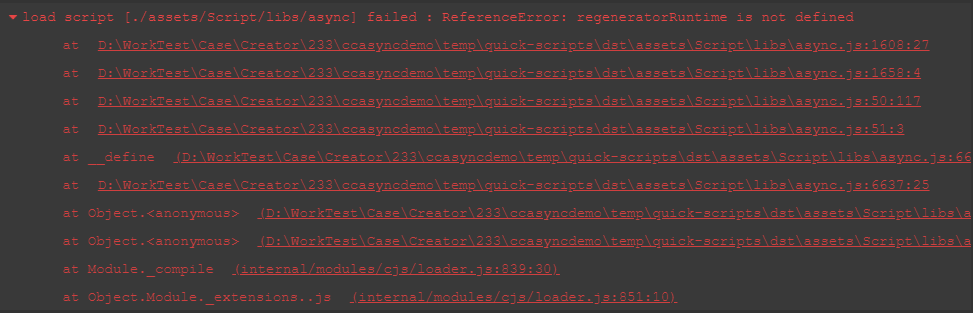
首先我们看一下,直接使用官方生成的报错如下:
1
| load script [./assets/Script/libs/async] failed : ReferenceError: regeneratorRuntime is not defined
|
论坛里有人和我报错相同,但是下面没人给出解决方法。于是,想着自己突破一下吧!
环境
- Cocos Creator 2.3.3
- Windows10
- Webstorm 编辑器(你用VSCode一样)
- nodejs 环境
解决方案
方案一:在原构建成功的文件里添加 runtime.js
- 首先找到项目地址:https://github.com/caolan/async/tree/master/dist
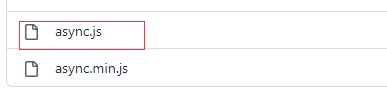
复制 async.js 到我们的项目 新建一个libs文件夹
如果是ts 项目记得 找到对应的声明文件 同样复制到libs目录下
下载地址: https://github.com/DefinitelyTyped/DefinitelyTyped/tree/master/types/async
根据报错得知错误原因是 使用了 迭代器语法 编译的时候报错
1
2
3
4
5
6
7
8
9
10
11
12
13
14
15
16
17
18
19
20
21
22
23
24
25
26
27
28
29
30
31
32
| class DLL {
constructor() {
this.head = this.tail = null;
this.length = 0;
}
toArray() {
return [...this]
}
*[Symbol.iterator] () {
var cur = this.head;
while (cur) {
yield cur.data;
cur = cur.next;
}
}
remove (testFn) {
var curr = this.head;
while(curr) {
var {next} = curr;
if (testFn(curr)) {
this.removeLink(curr);
}
curr = next;
}
return this;
}
}
|
编译后 变成了如下:
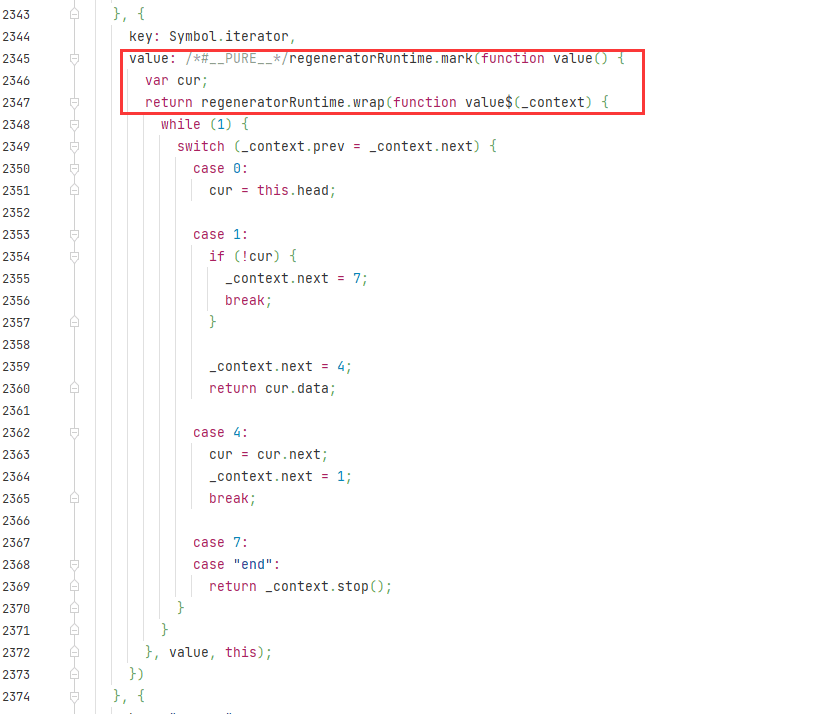
因为缺少了全局变量 regeneratorRuntime 导致报错,这里是报错的主要原因。
- 如何把缺少的 regeneratorRuntime 变量补上去呢,这里给出一个:
下载地址:https://github.com/facebook/regenerator/blob/main/packages/runtime/runtime.js
- 直接复制 runtime.js 内容到 async.js 的最上方即可,当然也可以新建一个runtime.js文件 然后以插件形式导入项目。
- 重新启动 Cocos Creator 项目,写测试代码:HelloWorld.ts
1
2
3
4
5
6
7
8
9
10
11
12
13
14
15
16
17
18
19
20
21
22
23
24
25
26
27
28
29
30
31
32
33
34
35
36
37
38
39
40
41
42
43
44
45
| import {eachLimit} from "./libs/async";
const {ccclass, property} = cc._decorator;
@ccclass
export default class Helloworld extends cc.Component {
@property(cc.Label)
label: cc.Label = null;
@property
text: string = 'hello';
@property
count: number = 0;
start () {
this.label.string = this.text;
}
touchHandler (event: cc.Event.EventTouch,data) {
console.log("$$:",Date.now()," ",this.count++);
let array = []
for (let i = 0; i < 123; i++) {
array.push(i)
}
eachLimit(array, 3, (index,cb) => {
console.log("smile----index:" + JSON.stringify(index));
this.scheduleOnce(()=>{
let res = index>99?1:null
if(res===null){
cb&&cb();
}
}, 0.5);
});
}
}
|
- 运行查看效果
自定义构建项目
- 使用WebStorm新建一个项目,结构如下
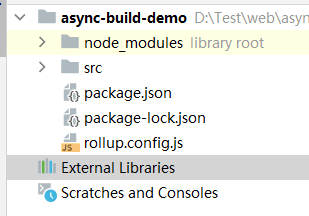
- 下面逐一说一下每个文件的内容 package.json
1
2
3
4
5
6
7
8
9
10
11
12
13
14
15
16
17
18
19
20
21
22
23
24
25
| {
"name": "async-build-demo",
"version": "1.0.0",
"description": "async-build-demo",
"main": "./dist/index.js",
"scripts": {
"build": "rollup --config"
},
"files": [
"dist"
],
"type": "module",
"module": "ES6",
"author": "jsroads",
"repository": {
"type": "git",
"url": "https://github.com"
},
"license": "ISC",
"devDependencies": {
"@types/node": "^16.3.3",
"rollup": "^2.53.2"
}
}
|
- rollup.config.js 内容如下
1
2
3
4
5
6
7
8
9
10
11
12
13
14
15
16
17
18
19
20
|
export default {
input: './src/index.js',
output: [{
file: './dist/async-cjs.js',
format: 'cjs',
exports: 'named',
banner: '// jsroads libs',
footer: '// powered by jsroads'
}, {
file: './dist/async-es.js',
format: 'esm',
exports: 'named',
banner: '// jsroads libs',
footer: '// powered by jsroads'
}]
}
|
- src 目录下文件是 从 https://github.com/caolan/async/tree/master/lib 文件下的所有文件 复制过来的。
- 首先运行 npm install 加载项目所需的依赖。
- 然后运行 命令 rollup -c
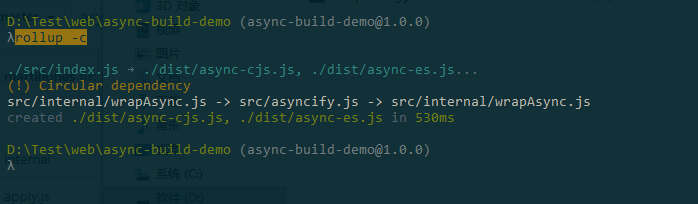
- 此时如下图所示 编译后的文件已经生成。

- 因项目是 typescript项目 所以需要下载对应的声明文件。文件地址 https://github.com/DefinitelyTyped/DefinitelyTyped/tree/master/types/async
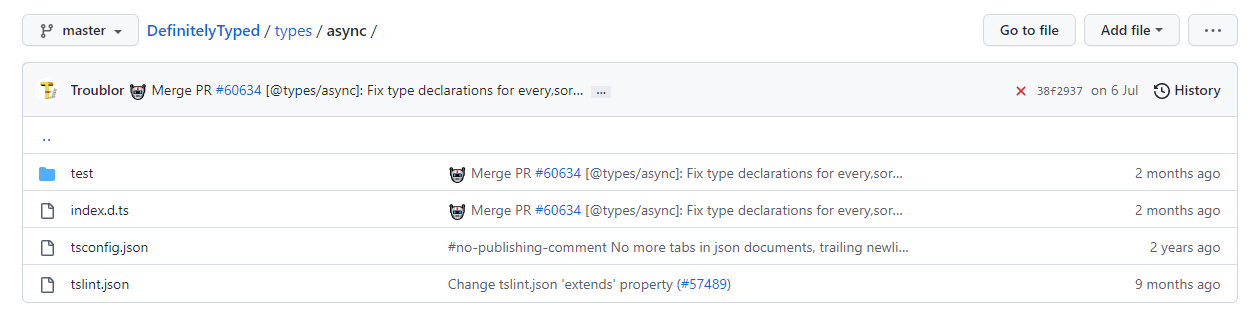
然后把 index.d.ts 重命名为 async-es.d.ts 和 dist 文件夹下生成的 async-es.js 一起放到 Cocos Creator项目的libs 下(记得删除原来报错文件),重启项目。
继续添加 我们的 runtime.js文件 https://github.com/facebook/regenerator/blob/main/packages/runtime/runtime.js
重复方案一的其他步骤。
注意:如果有微信小游戏环境报错的,可以 在 runtime.js 的末尾添加:目前(2022.08.23)官方代码已经添加了这些。
1
2
3
4
5
6
| try {
window.regeneratorRuntime = runtime;
} catch (accidentalStrictMode) {
···
Function("r", "regeneratorRuntime = r")(runtime);
}
|
最后 测试项目地址:点击前往
总结
总的来讲,此问题主要是添加一个 runtime.js 去全局即可,剩余的是自定义构建这个类库,比如我只用到了分帧加载,那么我就只构建自己用到的方法和文件,压缩后只有4KB左右。
参考